

Table of contents
- Introduction
- What is a CI/CD pipeline?
- Benefits of using a CI/CD pipeline
- Azure DevOps overview
- Creating a new project in Azure DevOps
- Creating a new pipeline in Azure DevOps
- Configuring the pipeline
- Adding stages to the pipeline
- Adding tasks to the stages
- Triggering the pipeline
- Monitoring the pipeline
- Troubleshooting the pipeline
- Best practices for CI/CD pipelines
- Conclusion
- FAQs
In today's fast-paced and ever-changing technological landscape, it is essential to have efficient software development and deployment processes in place. A CI/CD pipeline is one such process that enables developers to continuously integrate and deliver code changes to production with ease. In this article, we will discuss how to set up a CI/CD pipeline in Azure DevOps, step-by-step.
Introduction
Setting up a CI/CD pipeline can be a daunting task, especially if you are new to the process. However, with the right tools and guidance, it can be a straightforward and seamless process. In this article, we will walk you through the steps required to set up a CI/CD pipeline in Azure DevOps.
What is a CI/CD pipeline?
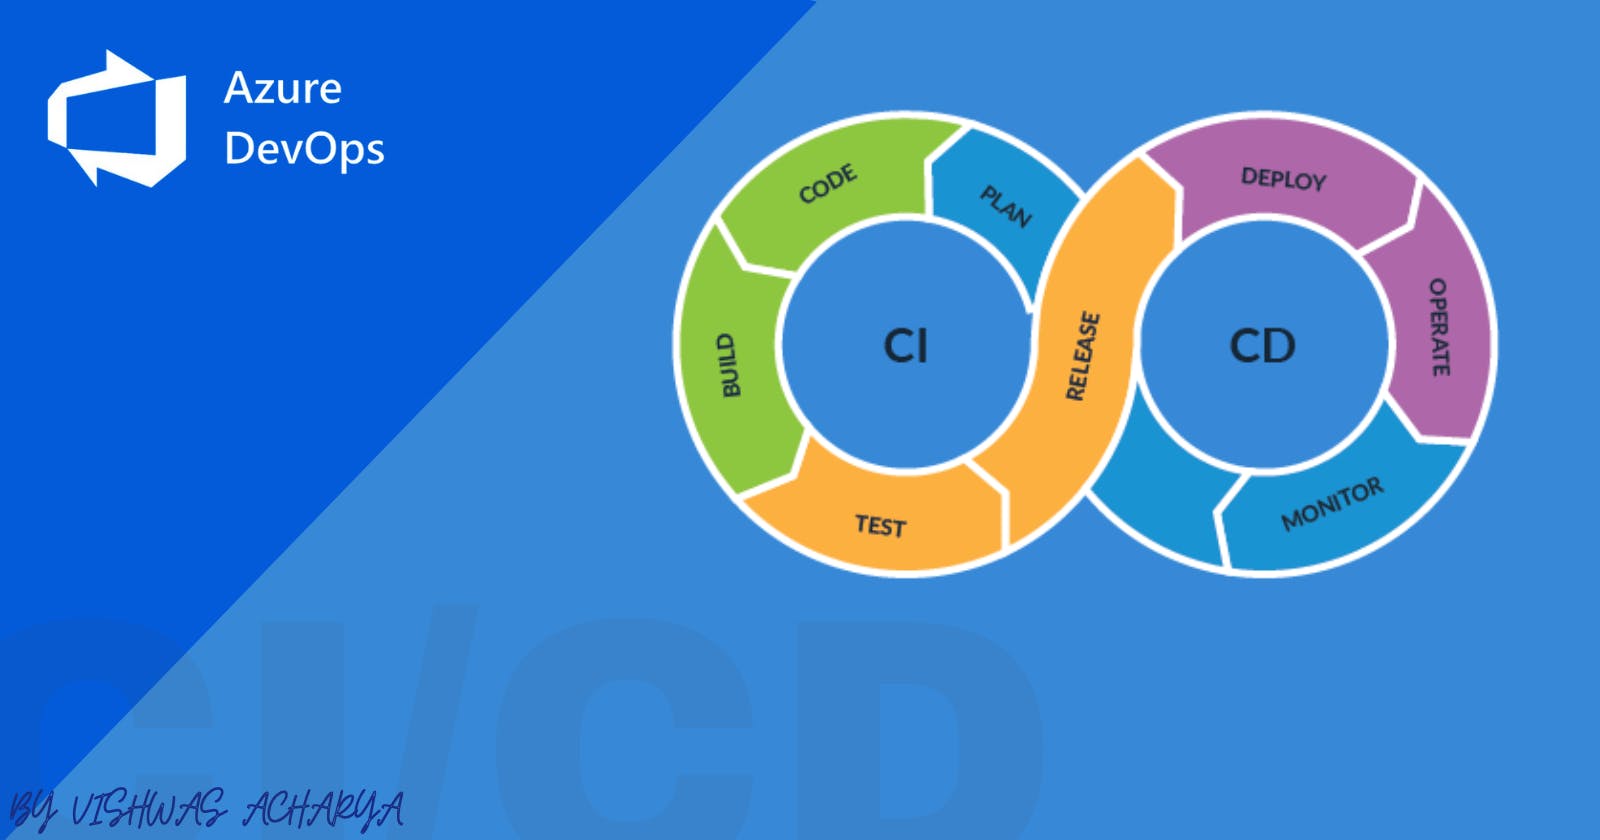
A CI/CD pipeline is a set of processes that automates the building, testing, and deployment of software changes. The pipeline is designed to ensure that each code change goes through a series of automated tests and validations before it is deployed to production.
Benefits of using a CI/CD pipeline
The use of a CI/CD pipeline offers several benefits to software development teams, including:
Faster time-to-market
Improved code quality
Reduced manual errors
Increased team collaboration
Greater agility and flexibility
Azure DevOps overview
Azure DevOps is a comprehensive suite of tools that provides end-to-end support for collaborative software development and deployment. It includes a wide range of features such as source control, project management, testing, and deployment.
Creating a new project in Azure DevOps
To set up a new CI/CD pipeline in Azure DevOps, you first need to create a new project. Follow these steps:
Sign in to Azure DevOps and select the organization where you want to create the project.
Click on "Create project" and enter a name for the project.
Select a version control system for the project, such as Git or TFVC.
Click on "Create" to create the project.
Creating a new pipeline in Azure DevOps
Once you have created a new project, you can create a new pipeline for it. Follow these steps:
Go to the "Pipelines" tab in Azure DevOps.
Click on "New pipeline" and select the location of your source code.
Choose the appropriate template for your pipeline, such as "ASP.NET Core" or "Node.js".
Configure the pipeline settings, such as the build trigger and agent pool.
Click on "Save and run" to save the pipeline and start the build.
Configuring the pipeline
After creating the pipeline, you need to configure it to suit your specific requirements. This includes adding stages and tasks to the pipeline.
Adding stages to the pipeline
Stages represent the different phases of the pipeline, such as build, test, and deploy. Follow these steps to add stages to your pipeline:
Open the pipeline editor in Azure DevOps.
Click on "Add stage" to add a new stage.
Enter a name
Configure the settings for the stage, such as the trigger and dependencies.
Repeat the process to add additional stages as needed.
Adding tasks to the stages
Tasks represent the individual steps that need to be executed within each stage. Follow these steps to add tasks to your pipeline:
Open the pipeline editor in Azure DevOps.
Click on the stage where you want to add a task.
Click on "Add task" to add a new task.
Select the appropriate task from the task catalog, such as "Build" or "Test".
Configure the settings for the task, such as the version and input parameters.
Repeat the process to add additional tasks as needed.
Triggering the pipeline
You can trigger your pipeline to run automatically based on certain events or triggers, such as code commits or pull requests. Follow these steps to configure your pipeline trigger:
Open the pipeline editor in Azure DevOps.
Click on the "Triggers" tab to access the trigger settings.
Select the appropriate trigger type, such as "Continuous Integration".
Configure the settings for the trigger, such as the branch filters and batch changes.
Click on "Save" to save the trigger settings.
Monitoring the pipeline
Once your pipeline is running, you can monitor its progress and status in Azure DevOps. Follow these steps to monitor your pipeline:
Open the pipeline editor in Azure DevOps.
Click on the "Runs" tab to access the pipeline runs.
Select the appropriate run to view its details.
Monitor the progress and status of the pipeline run.
Use the logs and diagnostics tools to troubleshoot any issues.
Troubleshooting the pipeline
If your pipeline encounters any issues or errors, you can use the diagnostics tools in Azure DevOps to troubleshoot and resolve them. Follow these steps to troubleshoot your pipeline:
Open the pipeline editor in Azure DevOps.
Click on the "Runs" tab to access the pipeline runs.
Select the appropriate run that encountered the issue.
Use the logs and diagnostics tools to identify the cause of the issue.
Take corrective action to resolve the issue and re-run the pipeline if necessary.
Best practices for CI/CD pipelines
To ensure the success of your CI/CD pipeline, it is important to follow certain best practices. These include:
Automate as much as possible
Use source control to manage code changes
Use versioning to manage dependencies
Use containerization to isolate and package applications
Use testing and validation to ensure code quality
Use monitoring and analytics to track performance and usage
Conclusion
Setting up a CI/CD pipeline in Azure DevOps can seem like a daunting task, but it is essential for efficient and seamless software development and deployment. By following the steps outlined in this guide, you can set up a CI/CD pipeline in Azure DevOps with ease and confidence.
FAQs
What is a CI/CD pipeline? A CI/CD pipeline is a set of processes that automates the building, testing, and deployment of software changes.
What are the benefits of using a CI/CD pipeline? The use of a CI/CD pipeline offers several benefits to software development teams, including faster time-to-market, improved code quality, reduced manual errors, increased team collaboration, and greater agility and flexibility.
What is Azure DevOps? Azure DevOps is a comprehensive suite of tools that provides end-to-end support for collaborative software development and deployment.
How do I create a new project in Azure DevOps? To create a new project in Azure DevOps, sign in to Azure DevOps and select the organization you want to create the project. Then, click on "New Project" and follow the prompts to set up the project.
Can I use a different CI/CD tool instead of Azure DevOps? Yes, there are many CI/CD tools available, and you can choose the one that best fits your needs and preferences. Some popular options include Jenkins, Travis CI, and CircleCI.
By Vishwas Acharya 😉
Checkout my other content as well:
YouTube:
Podcast: